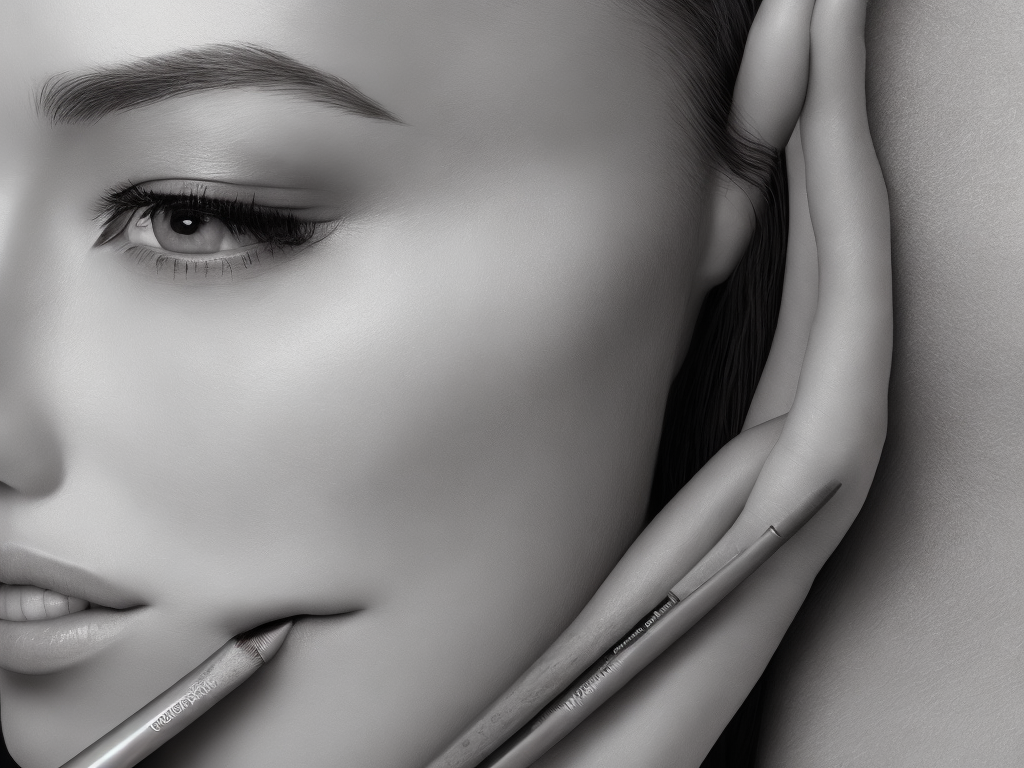
Perfectly groomed brows can make a huge difference in giving the appearance of a polished look. However, not everyone is gifted with naturally full and defined eyebrows. This is where brow pencils come into play. Brow pencils are a great way to add definition and fullness to your eyebrows without the need for expensive treatments or altering your natural hair growth.
When it comes to applying a brow pencil, there are a few key steps that you need to follow to ensure that you achieve natural-looking, flawless brows. In this guide, we’ll walk you through all the steps you need to know on how to apply a brow pencil like a pro.
Step 1: Choose the Right Shade
Choosing the right shade of brow pencil is probably one of the most important steps in achieving natural-looking brows. If the shade is too light, it can look fake and unnatural, and if it’s too dark, it can look harsh and heavy.
To choose the right shade for your brow pencil, you will need to determine your natural brow color. Start by examining your hair color. If you have light hair, you will want to choose a shade that is a shade or two darker than your hair color. If you have medium hair color, you should go for shades that are slightly darker than your hair color. And if you have dark hair color, it’s best to choose a shade that is a couple of shades lighter than your hair color.
Step 2: Shape Your Brows
Before you start filling in your brows, it’s important to shape them. Brush your brows upwards using a spoolie brush, which will help to identify any sparse areas or gaps that need to be filled in. Use a pair of sharp, angled tweezers to pluck away any stray hairs and create the shape that you want.
If you’re unsure of how to shape your brows, you can always visit a professional to have them done. Alternatively, you can use a brow stencil to help you create the perfect Shape.
Step 3: Outline Your Brows
Once you have shaped your brows, you will need to outline them with a brow pencil. This step will help you create a guiding template as you fill in your brows, making it easier to achieve a natural look.
To outline your brows, start at the inner corner of your brow and draw a line following the natural curve of your brow. Then, move to the outer corner of your brow and repeat the process. Finally, connect the two lines using short hair-like strokes.
Step 4: Fill in Your Brows
Now that you have outlined your brows, you can start filling them in. Using short, hair-like strokes, fill in any sparse areas or gaps in your brows. Start at the inner corner of your brow and work towards the outer corner, following the natural direction of your brow hair.
Be sure to use light pressure when filling in your brows to avoid creating a heavy, overdone look. The goal here is to create fuller, more defined looking brows that mimic natural hair growth patterns.
Step 5: Blend with a Spoolie Brush
Once you have filled in your brows, it’s important to blend the color to create a natural look. Use a spoolie brush to brush through your brows, blending the color and softening any harsh lines.
Step 6: Set Your Brows
To keep your brows in place all day long, you will need to set them using a brow gel. This step is particularly important if you have unruly brows that shift and move throughout the day.
To set your brows, choose a clear or tinted brow gel that matches the shade of your brow pencil. Brush the gel through your brows, starting at the inner corner of your brow and working towards the outer corner.
Step 7: Clean Up Edges
Finally, use a concealer or a highlighter pencil to clean up any edges around your brows for a polished look. Draw a line along the bottom of your brows, following the natural curve, and blend the edges with your fingers or a brush.
Conclusion
By following these seven steps, you can achieve natural-looking, flawless brows every time you use a brow pencil. Remember that practice makes perfect, so don’t be afraid to experiment and find the technique that works for you. With a bit of patience and practice, you’ll soon be on your way to perfectly defined brows that will have you feeling confident and beautiful all day long!
 Self-Instruct