There is something unquestionably nostalgic about boiled eggs at Easter time. They may be simply colored or used for egg hunts, traditional egg rolling contests, and further cooking or baking. When boiling eggs specifically for coloring, you must make certain the boiled egg is solidly cooked and will not crack during the coloring process.
Here are the steps for boiling eggs for coloring using cold start and hot start methods.
Cold Start Method:
Step 1: Select your eggs
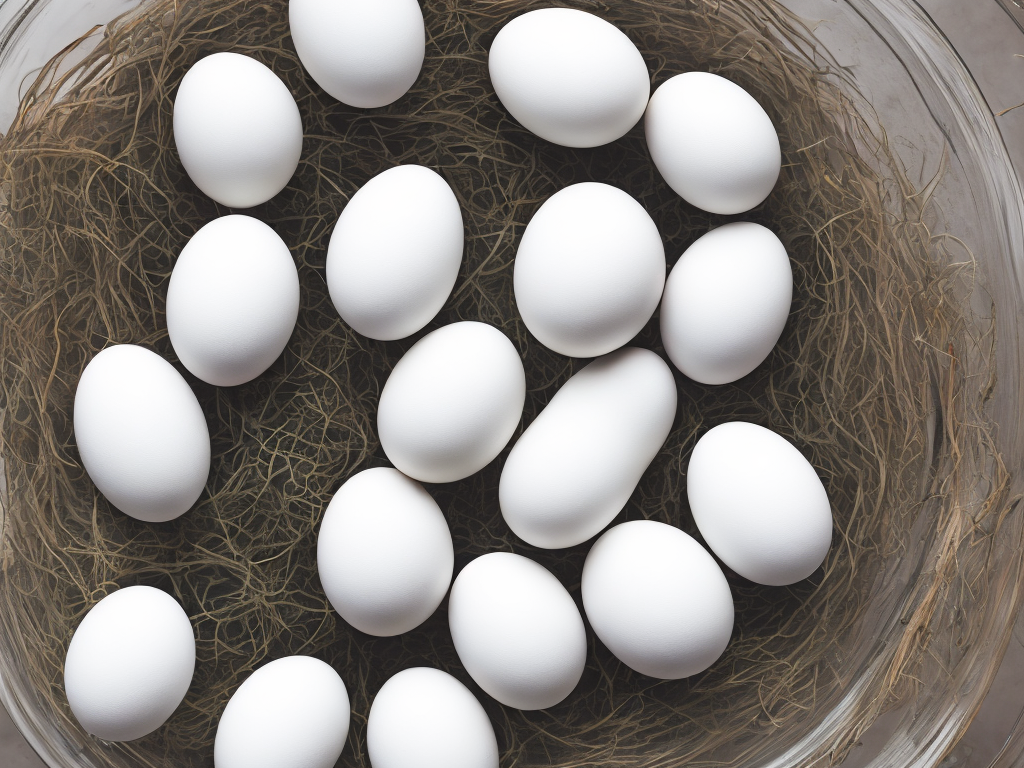
Choose fresh eggs that have been refrigerated until you are ready to use them. Older eggs are better for boiling but for coloring, it’s best not to take any chance.
Step 2: Set out a saucepan
Place your eggs in a pan and add cold water to the pan until they are entirely covered with an extra inch above the tops of the eggs.
Step 3: Bring to a boil
Place the pan on a high heat to bring the water to a rolling boil. Once the water is boiling, remove the pan from the heat and cover the pan with a lid.
Step 4: Time to cook
Set the timer for the direction of your desired doneness; for hard-boiled eggs, perfect for coloring, you’ll simmer for a minimum of ten minutes.
Step 5: Cool them down
When cooking time is complete, move your pan with eggs and water to the sink and drain the hot water from the pan. Pour cold water over the eggs to bring the temperature down, then fill the pan again with cold water to submerge the eggs. Let them soak in the cold water for 3-4 minutes.
Step 6: Dry eggs
Remove eggs from water and let them dry out completely before coloring. You may store them in the refrigerator until you're ready to commence the coloring process.
Hot Start Method:
Hot start is essentially boiling, more extended than the Cold Start Method, which leads to a more firm white and richer yolk.
Step 1: Start by setting out a saucepan
Place your eggs in a pan and add cold water to the pan until they are entirely covered with an extra inch above the tops of the eggs.
Step 2: Bring to a boil
Place the pan on high heat to bring the water to a rolling boil.
Step 3: Reduce to a simmer
Once the water is boiling, lower the heat and maintain a steady simmer for 8-10 minutes.
Step 4: Cool them down
When cooking time is complete, move your pan with eggs and water to the sink and drain the hot water from the pan. Pour cold water over the eggs to bring the temperature down and let them soak in the cold water for 3-4 minutes.
Step 5: Dry eggs
Remove eggs from water and let them dry out completely before coloring.
Hints
- Start with refrigerated eggs as they are less likely to crack.
- Try not to overcrowd your pan. The less overcrowded your pan is, the less likely your eggs are to crack.
- Use a saucepan that can cover the eggs in approximately an inch of cold water.
- Do not add salt to the water when boiling eggs meant for coloring as it might make them more challenging to peel later.
- Do not use your freshest eggs when planning to dye them; they may be harder to peel. Using old eggs, especially ones that are softer, is ideal for coloring.
- Avoid over boiling the eggs; it can cause a green or grey ring around the outside of the egg yolk, and it can also make the egg rubbery.
- Know your doneness time: ten minutes for hard-boiled eggs, seven for medium-boiled, and four for soft-boiled eggs.
- When vacuum coating, rubbing a tiny amount of oil-based rubbing alcohol or vegetable oil on the outside of your egg before applying it to the dye can give it a shiny, clear finish.
- Rinse your eggs before cooking to eliminate any dust or debris from the eggshell.
- Indicate which eggs are cooked and which are raw by placing the cooked ones in another container until all eggs are finished cooking.
Final Words
The best eggs for coloring are firm, but not over-cooked. It is recommended to run the cooked eggs under cold water for a few minutes to stop further cooking and to make them easier to handle. The next step is to let them dry out completely before decorating or storing them away in the fridge for use later on. With these tips in mind, you'll have a fun, egg-filled experience with your family, and your Easter creations will undoubtedly turn out beautifully.