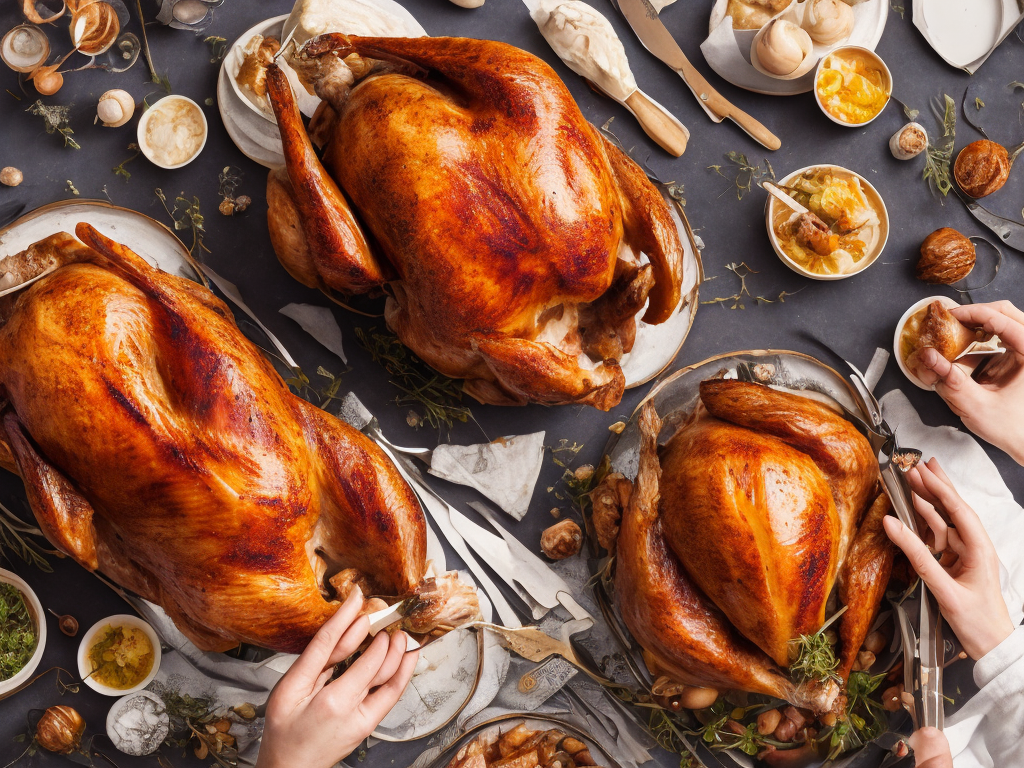
How To Carve A Turkey
Carving a turkey is a time-honored tradition that often takes center stage at holiday meals. Whether it's a Thanksgiving feast or a Christmas dinner, knowing how to carve a turkey is a skill that will make you the hero of the party. With some patience, practice, and the right technique, you can carve a turkey like a pro. In this article, we will guide you through the step-by-step process of carving a turkey.
1. Gather the necessary tools
Before you start carving, gather all the tools you'll need. You'll require a sharp carving knife, a carving fork, a cutting board, and a platter to serve the carved turkey. Make sure your knives are well-sharpened, as it will make the process easier and safer.
2. Let the turkey rest
Once the turkey is fully cooked, it's crucial to allow it to rest. This resting period allows the juices to redistribute, ensuring a moist and flavorful meat. Ideally, let the turkey rest for about 20 minutes before carving it.
3. Remove the legs and thighs
Start by removing the legs and thighs. Using a sharp knife, cut through the skin between the leg and the body until you reach the joint. Apply some pressure to locate the joint and then separate the leg from the body by cutting through the joint. Repeat the process on the other side. Once the legs are removed, separate the thighs from the drumsticks by locating the joint and cutting through it.
4. Carve the breast meat
The next step is to carve the breast meat. Start by making a long horizontal cut near the base of the turkey, where the leg was attached. Use the carving fork to stabilize the turkey while you slice across the breast. Make sure each slice is about 1/4 inch thick. Repeat this process until all the breast meat has been sliced.
5. Presenting the drumsticks and thighs
To present the drumsticks and thighs attractively, you can serve them whole or separate the meat from the bones. If you choose to serve them whole, arrange them on the platter emphasizing their natural shape. If you prefer to remove the meat, hold the drumstick with one hand and use a knife to cut horizontally towards the bone. Once you cut through the meat all the way around, it should easily pull away from the bone. Repeat the process for the other drumstick and both thighs.
6. Slice the wings
Now it's time to deal with the wings. Hold the turkey stable with a carving fork and use a knife to slice through the joint where the wing connects to the body. Once the wing is separated, you can choose to serve them whole or slice them into smaller pieces.
7. Serve and enjoy
Once you have successfully carved the turkey, arrange the different cuts on a platter. You can garnish it with some fresh herbs and add some colorful vegetables for an aesthetically pleasing presentation. Now, all that's left to do is enjoy the delicious turkey you've worked so hard to carve.
Tips for easier carving:
1. Sharpen your knives: Before starting the carving process, ensure that your knives are sharp. Dull knives can slip and cause accidents. Remember to sharpen them before the big day.
2. Practice: If you're new to carving turkeys, it's a good idea to practice on a smaller bird before the main event. This will help you gain confidence and hone your carving skills.
3. Use a carving fork: A carving fork is essential to stabilize the turkey while you carve. It will also help you handle the hot turkey safely.
4. Go slow: Take your time while carving to ensure precise cuts. Rushing can lead to uneven slices and accidents.
5. Remove excess skin: Before carving, you may choose to remove any excess skin. This will make the carving process easier and more visually appealing.
Carving a turkey may seem intimidating at first, but with practice and patience, anyone can master this skill. Remember, it's all about the technique rather than brute force. Follow these step-by-step instructions, and soon you'll be confidently carving the centerpiece of your holiday feast. So, grab your knife, sharpen it well, and get ready to impress your guests with perfectly carved turkey slices.
 Self-Instruct