Palm crosses are an important symbol in the Christian faith, and are often created from palm fronds during Palm Sunday celebrations. Making a palm cross is a simple and rewarding activity that can be done by adults and children alike, as it can be used as a personal reflection tool, displayed on your home altar, or given as a gift to friends and family.
Here are the steps to make a palm cross:
Step 1: Gather your materials
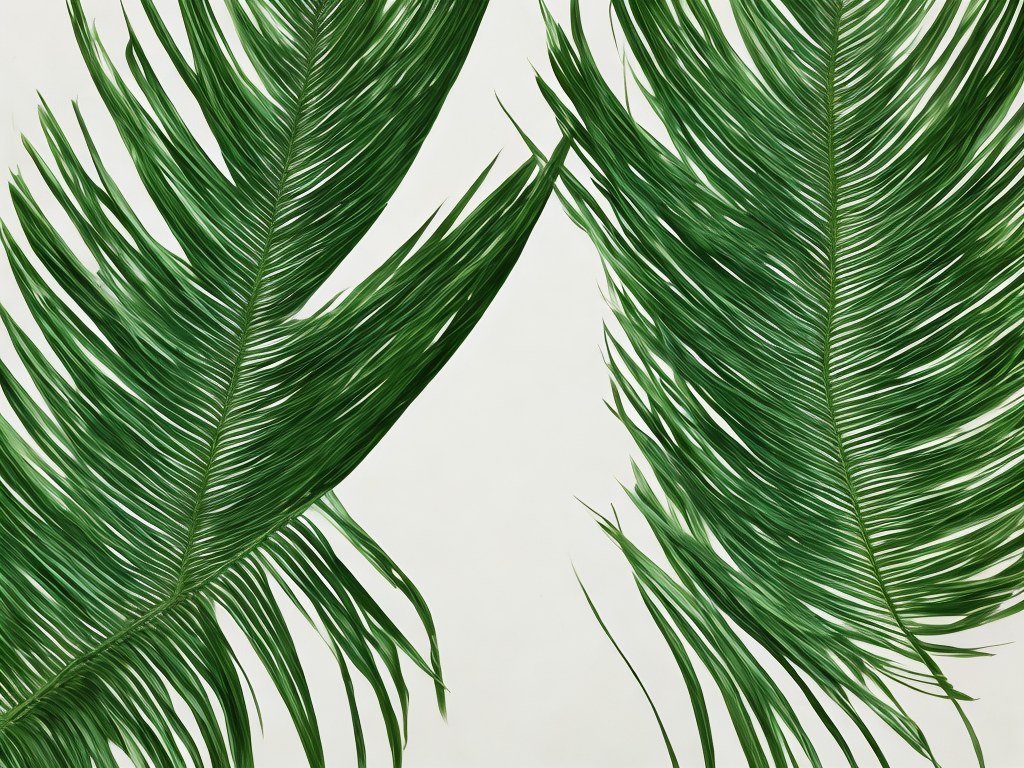
The first step in making a palm cross is to gather your materials. You will need palm fronds, scissors or a pair of shears to trim the fronds, and a ruler to measure the length of the frond.
Step 2: Trim and prepare the palm frond
Once you have your materials together, you can start preparing the palm frond. Take a palm frond and trim it down to about 2 feet in length using your scissors or shears. Then, use the ruler to measure down 6 inches from the top of the frond, and make a small cut using your scissors.
Step 3: Fold the palm frond
After you have made the initial cut, fold the top of the palm frond down towards the center of the frond, creating a small loop. This loop will become the center of your palm cross.
Step 4: Make the arms of the cross
Next, take the right side of the palm frond and bend it at a 90-degree angle towards the center loop. Then, fold it back up and over the loop, creating the right arm of the cross. Repeat this step on the left side of the frond to create the left arm of the cross.
Step 5: Secure the arms of the cross
To secure the arms of the cross in place, weave them over and under each other at the center loop. Make sure the arms are spaced evenly and that the cross is symmetrical.
Step 6: Finish your palm cross
Once you have secured the arms of the cross, fold the bottom of the palm frond up towards the center of the cross. Tuck the excess palm frond under the center loop to create a neat and finished look. You can also use a small piece of wire, string, or ribbon to secure the palm frond in place if necessary.
Palm crosses can be made in various sizes and styles, and can be embellished with other natural materials or decorations to create unique and personalized designs. Here are some additional tips on how to make your palm crosses more creative and special:
Use different types of palm fronds – Different palm species have unique leaf shapes and sizes, which can be used to create different variations of the palm cross. Experiment with different palm fronds to see which type works best for your design.
Add beads or charms – To make your palm cross more decorative, you can add beads or charms to the arms of the cross. Simply string the beads or charms onto a piece of wire and weave it through the palm frond as you create the cross.
Dye the palm fronds – If you want to add a pop of color to your palm crosses, you can dye the palm fronds using natural dyes such as tea, coffee, or turmeric. This is a fun and easy way to personalize your palm crosses and make them stand out.
Attach a ribbon for hanging – Palm crosses can be attached to a ribbon, string, or piece of wire, making them easy to hang on door handles, mirrors, or hooks. This is a great way to display your palm crosses during the Easter season.
In conclusion, making a palm cross is a simple and meaningful activity that can be enjoyed by people of all ages and skill levels. Whether you are making a palm cross for personal reflection or as a gift for a loved one, take the time to experiment with different designs and techniques to create a unique and special symbol of faith.