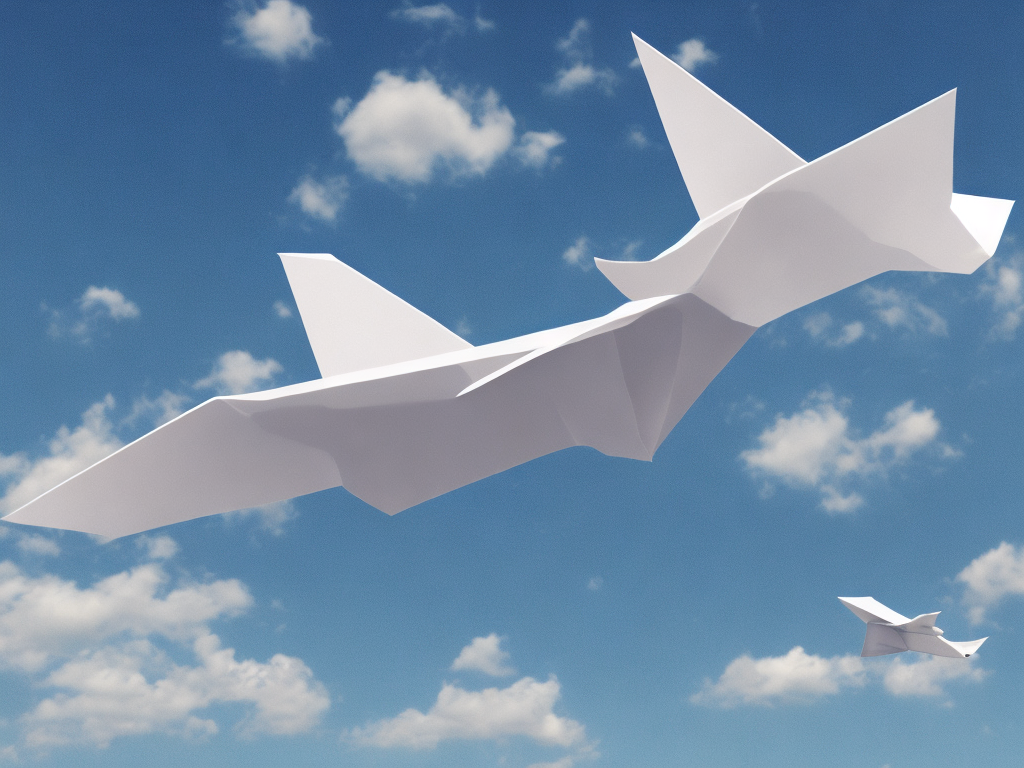
Paper airplanes are those simple toys that hold a special place in everyone's heart. While they may seem like child's play, creating a paper airplane requires skill and precision.
This article will provide a step-by-step guide for making a basic paper airplane. So grab a sheet of paper, and let's get started!
Step 1: Choose Your Paper
The kind of paper you use will determine how your airplane will fly. Regular copy paper is a good option, but if you want your airplane to have a bit more weight and durability, you could also use construction paper.
Step 2: Fold It in Half
Fold the paper in half horizontally, ensuring that the edges align. Crease the fold with your fingers or a flat object, like a pen cap, to make it sharp.
Step 3: Unfold and Fold the Corners
Unfold the paper and fold the top corners into the crease that you just made, so that the tips of the corners meet the crease. The top of the paper should now resemble a triangle with a rectangular base.
Step 4: Fold the Top Flap
Fold the top flap of the paper airplane down so that it aligns with the bottom of the paper. The fold line where you folded the corners should now be visible on the outside of the paper.
Step 5: Fold the Wings
Fold the right and left sides of the paper toward the centre crease, so that the top edges meet the centre line. This will create the wings of your paper airplane. Crease the edges to sharpen the fold lines.
Step 6: Fold the Wing Tips
Fold the wings down so that the bottom edges line up with the bottom edge of the plane. This will create wingtips that will add stability to your airplane.
Step 7: Add the Elevator Flap
Fold the back of the paper airplane's wings up slightly. This creates a little elevator flap that will give your plane some lift.
Step 8: Launch Your Airplane
Hold your paper airplane at the bottom of the plane, either by the centre crease or the bottom corners. Toss it gently into the air and watch it soar!
Tips and Tricks
- Be sure to make sharp, defined folds to create a rigid structure for your airplane.
- Experiment with the size, weight, and shape of your airplane to see how it affects its flying ability.
- To increase distance, launch your airplane at an upward angle to gain more height.
- Add some flair to your airplane by decorating it with markers, paint, or stickers.
Conclusion
It is amazing how something as simple as a piece of paper can bring so much joy. Making a paper airplane is a fun activity that is enjoyed by people of all ages. With practice, you can create more complex designs and even customize them to make them uniquely yours. So go ahead, fold some paper, launch your airplane, and let your imagination take flight!
 Self-Instruct