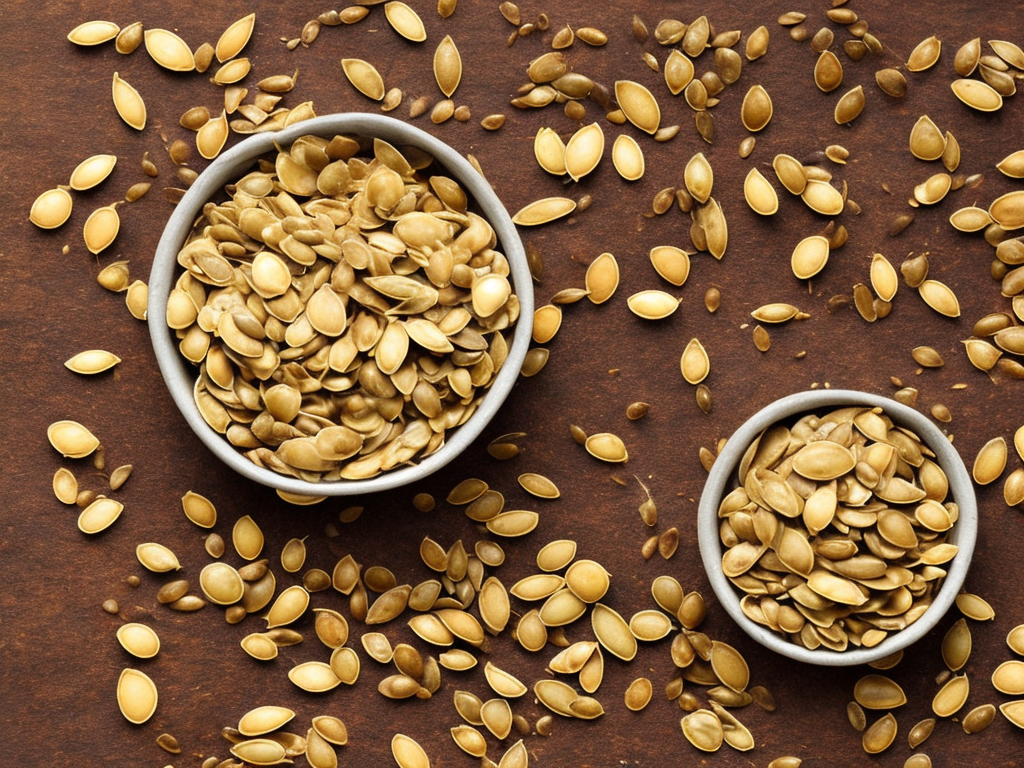
Pumpkin seeds, also known as pepitas, are a delicious and nutritious snack that can be enjoyed year-round. Whether you have carved a pumpkin for Halloween or simply want to make use of the seeds from cooking a pumpkin, there are several methods you can use to make pumpkin seeds. In this article, we will explore step-by-step instructions for roasting pumpkin seeds and a variety of flavoring options to make them even more irresistible.
Step 1: Extracting the Pumpkin Seeds
The first step to making pumpkin seeds is extracting them from the pumpkin. Begin by cutting off the top of the pumpkin and scoop out the insides into a large bowl. Separate the seeds from the pulp and place them in a colander or strainer. Rinse the seeds under cold running water to remove any remaining pulp or strings.
Step 2: Drying the Pumpkin Seeds
Once the seeds are cleaned, spread them out on a clean kitchen towel or paper towel to dry. Pat them gently with a towel to remove excess moisture. It is essential to ensure that the seeds are completely dry before proceeding to the next step. Moisture on the seeds can prevent them from roasting evenly.
Step 3: Roasting the Pumpkin Seeds
There are two popular methods to roast pumpkin seeds – stovetop and oven. We will explore both methods below, so you can choose the one that suits you best.
Stovetop Method:
1. Heat a large skillet or frying pan over medium-high heat.
2. Add a tablespoon of oil, such as olive oil or vegetable oil, to the pan.
3. Once the oil is hot, add the dried pumpkin seeds to the pan. You can season them with salt or any other desired spices at this point.
4. Stir the seeds occasionally to ensure even roasting. Continue cooking for about 5-7 minutes or until the seeds turn golden brown.
5. Transfer the roasted seeds to a plate lined with a paper towel to absorb any excess oil.
6. Let the seeds cool completely before enjoying. They will become crispy as they cool down.
Oven Method:
1. Preheat your oven to 300°F (150°C).
2. In a mixing bowl, toss the dried pumpkin seeds with a drizzle of oil, salt, and any other desired seasonings. You can get creative here with spices like garlic powder, paprika, or cayenne pepper.
3. Spread the seasoned seeds evenly on a baking sheet lined with parchment paper or a silicone baking mat.
4. Place the baking sheet in the preheated oven and roast for approximately 20-30 minutes, stirring the seeds occasionally to ensure even cooking.
5. Keep a close eye on the seeds, as they can burn quickly. Check their color and texture regularly to determine when they are ready.
6. Once the seeds turn golden and crispy, remove them from the oven and let them cool before consuming.
Step 4: Flavoring Options
Roasted pumpkin seeds taste fantastic on their own, but if you want to add an extra punch of flavor, there are countless options available to experiment with. Here are a few ideas to get you started:
Spicy: Toss the dried seeds with a mixture of melted butter, chili powder, cayenne pepper, and a pinch of salt before roasting. The result is a spicy and bold snack that will satisfy any heat craving.
Sweet and Savory: Combine melted butter, brown sugar, cinnamon, and a pinch of salt. Toss the pumpkin seeds in this mixture and spread them on a baking sheet. Roast in the oven until caramelized, stirring occasionally for an irresistible sweet and savory treat.
Herbed: If you prefer a more herbaceous flavor, try tossing the seeds with melted butter, dried herbs like rosemary, thyme, or oregano, and a sprinkle of salt. Roast them until golden brown and enjoy this aromatic version of pumpkin seeds.
Step 5: Storage and Shelf Life
After making pumpkin seeds, you can store them in an airtight container for up to a couple of weeks. Make sure the seeds are completely cooled before storing. It is advisable to keep them in a cool, dry place away from moisture and direct sunlight to maintain their freshness and crispness.
In conclusion, making pumpkin seeds is a simple and rewarding process that allows you to enjoy a delicious and healthy snack. From the extraction of the seeds to the roasting process, there are several methods to choose from, depending on your preference. Don't hesitate to get creative with flavorings and seasonings to add a personal touch to your pumpkin seeds. So, next time you carve a pumpkin or cook with one, don't throw away those seeds – transform them into a delightful and nutritious snack that everyone will love.
 Self-Instruct