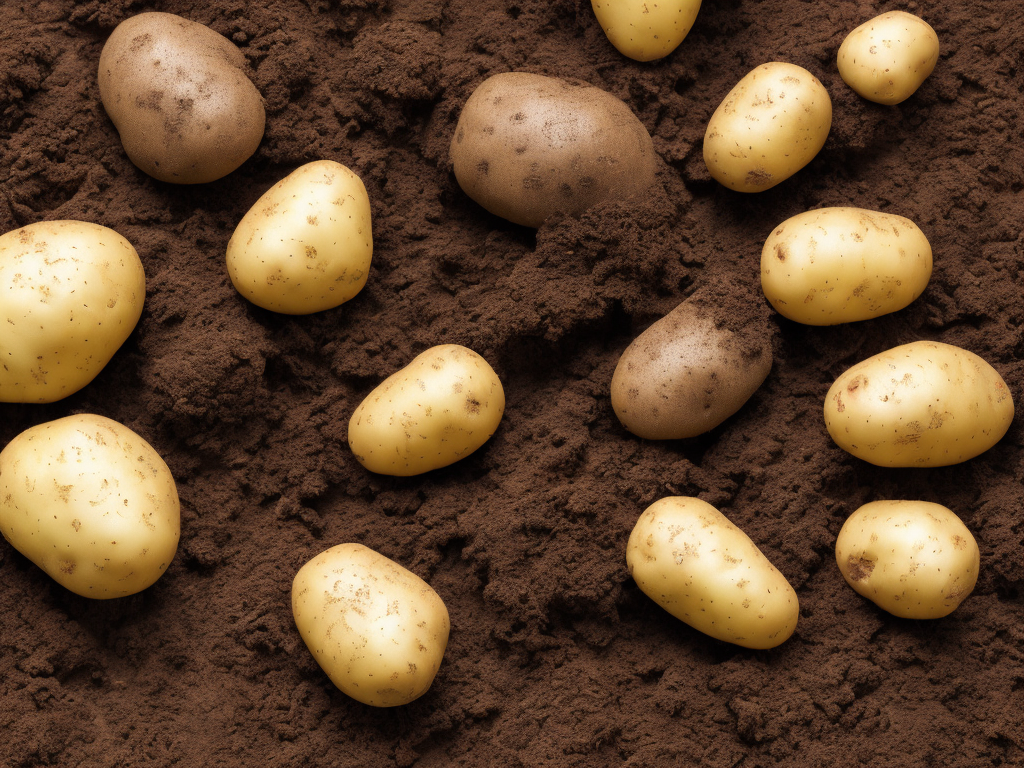
Potatoes are one of the most widely consumed and versatile foods in the world. They can be roasted, mashed, boiled, fried, or baked and are used in countless recipes. Potatoes are also very easy to grow and can be a great addition to your garden. Planting potatoes is a simple process that requires only a few basic steps.
Selecting Seed Potatoes
The first step to planting potatoes is to select seed potatoes. A seed potato is simply a potato that has already begun to sprout, and you can usually find them at your local nursery or garden center. Seed potatoes come in both organic and non-organic varieties, so choose the type that works best for you. Make sure to choose seed potatoes that are firm, healthy, and free of any visible damage or disease.
Preparing the Soil
After selecting your seed potatoes, the next step is to prepare the soil. Potatoes prefer well-draining soil that is rich in organic matter. If your soil is heavy and compacted, it will be difficult for the potato plants to grow and produce a good crop. To improve the soil, you can add compost or aged manure to increase the organic matter content and improve drainage. If your soil is very rich, you may also need to add some sand or perlite to improve drainage.
Planting the Seed Potatoes
Once the soil is prepared, it's time to plant the seed potatoes. The best time to plant potatoes is in the early spring, about two to three weeks before the last expected frost. This will give the potatoes plenty of time to grow and mature before the hot summer weather arrives. To plant the seed potatoes, follow these simple steps:
1. Cut the seed potatoes into pieces that are about 2 inches square, making sure that each piece has at least one sprout or "eye."
2. Dig a trench in your garden that is about 6 inches deep.
3. Place the seed potato pieces in the trench, spacing them about 12-18 inches apart.
4. Cover the seed potatoes with about 2-3 inches of soil, leaving a shallow depression in the middle of the row.
5. Water the soil gently but thoroughly, making sure to soak the soil to a depth of at least 6 inches.
6. As the potato plants grow, continue to fill in the trench with more soil until it is level with the rest of the garden bed.
7. Keep the soil moist but not waterlogged, and avoid overwatering, as this can cause the potatoes to rot.
Caring for Your Potato Plants
After planting the seed potatoes, it's important to care for your potato plants to ensure that they grow and produce a good crop. Here are some tips for caring for your potato plants:
1. Mulch the soil around the plants to help retain moisture and prevent weeds from growing.
2. Fertilize the plants once a month with a balanced fertilizer that is high in nitrogen.
3. Monitor the plants for signs of pests or disease, and treat them promptly with organic pest control methods.
4. As the potato plants grow, start hilling them up with soil to protect the developing tubers from sunlight.
5. Harvest the potatoes when the foliage starts to die back, usually about 90-120 days after planting.
6. After harvesting, store the potatoes in a cool, dark place with good air circulation to prevent rot.
In conclusion, planting potatoes is a simple and rewarding process that can yield a bountiful harvest of delicious and nutritious food. By following these simple steps and caring for your potato plants, you can enjoy fresh, homegrown potatoes all season long.
 Self-Instruct