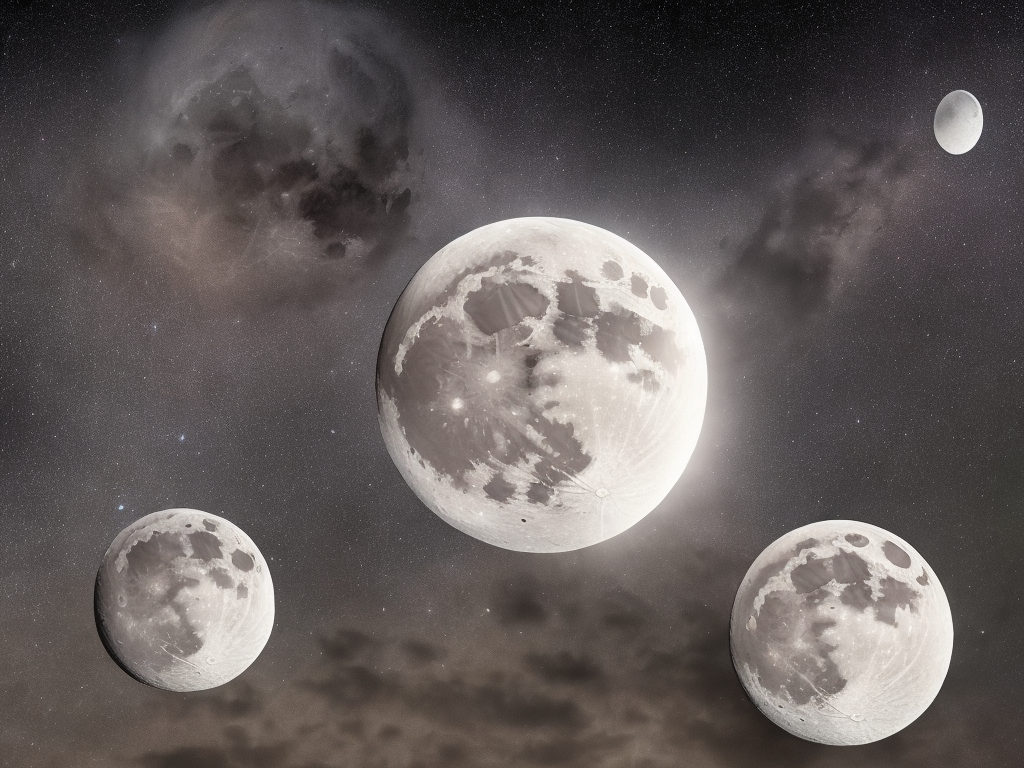
Have you ever looked up at the night sky and been in awe of the moon's beauty? With its glowing radiance and mystical presence, capturing a picture of the moon can leave you with a sense of accomplishment and wonder. However, photographing the moon can be a challenging task, especially for beginners in the field of astrophotography. But fear not! In this article, we will guide you through the step-by-step process of taking a picture of the moon, helping you immortalize its celestial splendor.
To begin with, it's important to understand that capturing a clear and detailed image of the moon requires some preparation and the right equipment. Let's start with the essentials: a camera with manual shooting capabilities, a sturdy tripod, and a telephoto lens. The camera should allow you to adjust settings such as shutter speed, aperture, and ISO. While you can use any camera with manual controls, a DSLR or mirrorless camera will often yield the best results.
Once you have your equipment ready, it's time to choose the right lunar phase for your photograph. The moon undergoes different phases, with some being more captivating and visually striking than others. The two most popular phases for moon photography are the full moon and the crescent moon. A full moon offers strong illumination and clear surface details, while a crescent moon provides a sense of depth and enables capturing the moon with other elements of the night sky.
Next, find a suitable location for your moon photography session. Ideally, you want to minimize light pollution and choose a spot with an unobstructed view of the moon. Scout out areas away from city lights and other sources of artificial illumination. Parks, open fields, or high vantage points can offer excellent perspectives for capturing the moon.
Once you have your location, set up your tripod and attach your camera securely. The moon requires a long focal length, so use your telephoto lens, preferably one with a focal length of 200mm or more. Mounting your camera on a tripod will eliminate shake caused by handheld movement, ensuring sharpness in your final image.
Before shooting, it's crucial to understand the settings that will allow you to capture the moon in all its glory. Begin by setting your camera to manual mode. This will give you full control over the settings necessary for a successful shot. Let's discuss the three key settings in detail:
1. Shutter Speed: The moon, though seemingly stationary, is in fact moving across the sky. To avoid motion blur, set your shutter speed to a relatively fast setting, around 1/125th of a second or faster. Experiment with different shutter speeds to find the perfect balance between sharpness and exposure.
2. Aperture: When it comes to choosing the right aperture, opt for a smaller aperture (higher f-stop) to increase depth of field and ensure that both the moon and foreground are in focus. Start with an aperture around f/8 and make adjustments based on the results. Remember, a smaller aperture may require a longer exposure, so be cautious of overexposure.
3. ISO: ISO affects the camera's sensitivity to light. Keep your ISO as low as possible to minimize noise in the image. Start with an ISO setting of 100 or 200 and increase it gradually if needed, while monitoring the image's quality on the camera's LCD screen.
With your camera settings dialed in, focus on the moon using manual focus. Autofocus can struggle to lock onto the moon due to its lack of contrast. Switching to manual focus will allow you to achieve a crisp, sharp image. Zoom in through your camera's live view or viewfinder and adjust the focus until the details on the moon's surface become clear.
Now that your camera is set up, your composition is selected, and your focus is achieved, it's time to press that shutter button. But wait! To further enhance your image, consider utilizing additional techniques:
1. Bracketing: Bracketing involves taking multiple exposures with varying settings, helping you capture a wider range of tones. Experiment with different exposures to create a series of images and later merge them using photo editing software to create a more dynamic final result.
2. Composition: Don't limit yourself to capturing just the moon. Include interesting elements such as trees, buildings, or silhouettes to add depth and create a more captivating image. Consider the rule of thirds, placing the moon off-center for a visually balanced composition.
3. Long Exposure: If you want to capture the moon's ethereal glow or include star trails, try a long exposure. Experiment with slower shutter speeds, ranging from a few seconds to a few minutes. Be mindful of overexposure and use a remote shutter release to avoid shake caused by manually pressing the shutter button.
After taking your photos, it's time to review and select the best shots. Transfer the images to your computer and examine them at 100% zoom to ensure sharpness. Pay attention to exposure, focus, and composition while discarding any blurry or poorly exposed images.
Post-processing can help enhance the final image. Use editing software like Adobe Lightroom or Photoshop to adjust brightness, contrast, and color balance. Be cautious not to go overboard, as natural-looking images often have a greater impact. Aim for a final result that accurately portrays the mood and beauty of the moon.
In conclusion, capturing a picture of the moon can be a captivating experience that allows you to appreciate its celestial wonder, even long after it has set. With the right equipment, knowledge of camera settings, and careful attention to composition, anyone can take stunning moon photographs. So grab your camera, head outside, and let the moon guide you on an astronomical adventure of photography.
 Self-Instruct