Bread dough is a versatile and delicious ingredient that can be used to make a variety of baked goods. It can be frozen for later use, but the process of thawing it can be tricky. If not done correctly, the dough can become dry and tough, ruining the end product. In this article, we will discuss how to thaw frozen bread dough properly so that it retains its texture and flavor.
Step 1: Plan Ahead
One of the most important things to keep in mind when thawing frozen bread dough is to plan ahead. It is crucial to give the dough enough time to thaw slowly in the refrigerator. A slow thawing process will allow the dough to retain its moisture and texture, resulting in a better end product. The amount of time needed for the dough to thaw will depend on its shape and size. Generally, it takes about 24 hours for a standard loaf of bread dough to thaw in the refrigerator.
If you don't have time to thaw the dough in the refrigerator, you can try to thaw it at room temperature. However, this method is not recommended because it can lead to uneven thawing and bacterial growth. If you must thaw the dough at room temperature, keep it in a warm and draft-free area, and check it frequently to ensure that it thaws evenly.
Step 2: Prepare the Dough
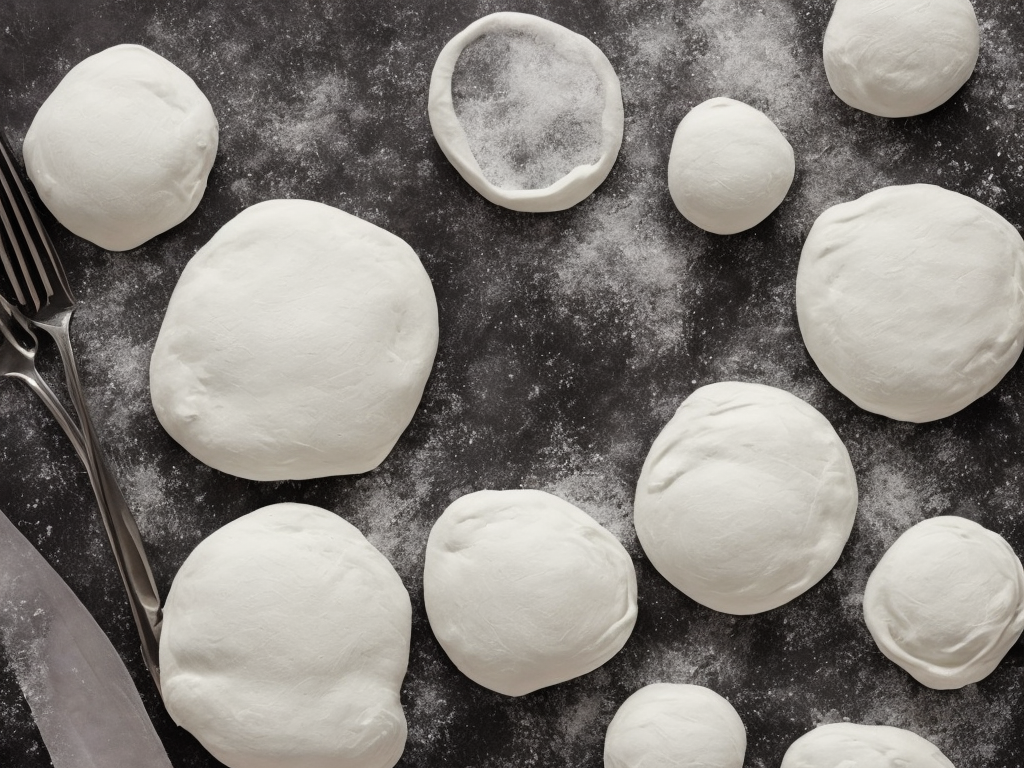
Before you begin thawing the dough, you should first prepare it for the process. The easiest way to thaw frozen bread dough is to place it in the refrigerator overnight. However, if you are in a rush, you can try using the microwave to speed up the process. To do this, you should first remove the dough from its packaging and place it on a microwave-safe plate.
Next, you should dampen a paper towel and place it over the dough. This will help to keep the dough moist during the thawing process. Microwave the dough on the defrost setting for 10-15 seconds, checking it frequently to make sure it doesn't overheat. Repeat this process until the dough is thawed.
Step 3: Allow the Dough to Rise
Once the dough is thawed, you should allow it to rise before baking. This step is important because the dough has been dormant in the freezer, and it needs to be activated again. To do this, you should take the dough out of the refrigerator and allow it to come to room temperature. This will take about an hour.
After the dough has come to room temperature, you should knead it gently to activate the yeast. You can do this by folding the dough over itself and pressing down firmly with your hands. Next, you should cover the dough with a clean dish towel and place it in a warm, draft-free area to rise. This will take another hour or so. The dough is ready to bake when it has doubled in size and feels soft and pliable to the touch.
Step 4: Bake the Dough
Now that the dough has risen, it is ready to be baked. Preheat your oven to the temperature specified in your recipe. If you are baking a loaf of bread, you can either place the dough in a greased loaf pan or shape it into a free-form loaf and place it on a baking sheet. You can also use the dough to make other baked goods, such as pizza crust or cinnamon rolls.
Once the dough is in the oven, you should monitor it closely to ensure that it bakes evenly. If the top starts to brown too quickly, you can cover it with a piece of aluminum foil to prevent it from burning. Depending on the recipe, the dough may take anywhere from 20 minutes to an hour to bake completely.
Step 5: Enjoy Your Baked Goods
Once the dough is baked, you can enjoy your delicious creations. Whether you've made bread, pizza, or cinnamon rolls, there's nothing quite like the taste of freshly baked goods. You can serve your baked goods warm with butter or jam, or you can store them in an airtight container for later use.
Conclusion
Thawing frozen bread dough can be a daunting task, but it is a necessary step if you want to create delicious baked goods. By following these simple steps, you can ensure that your thawed dough retains its flavor and texture, resulting in a tasty and satisfying end product. So the next time you find yourself with a batch of frozen dough, don't fret. Just follow these steps, and you'll be enjoying freshly baked treats in no time.