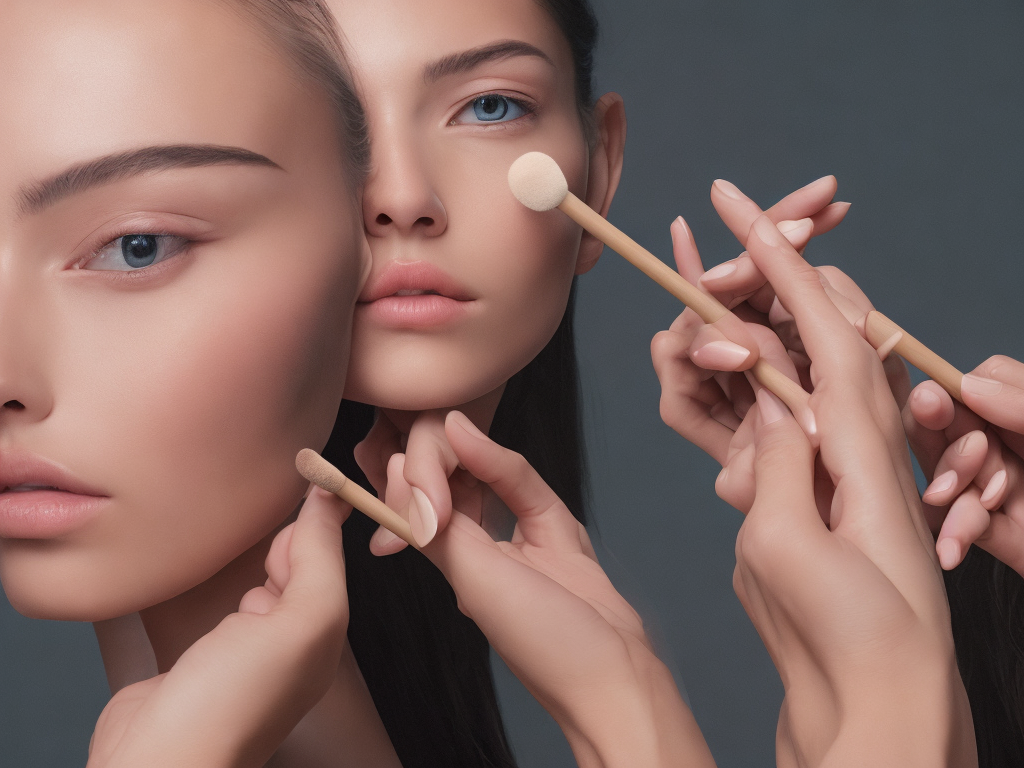
Contouring has become a must-do step in every girl's makeup routine. A well-sculpted face can make your features pop, give your face a more structured look, and enhance your natural beauty. But if you're an amateur in the makeup world, contouring can seem like a daunting task. But don't worry- a contour stick is an effortless way to start with. In this article, we've put together a step-by-step guide on how to use a contour stick to achieve a natural-looking finish.
1. Find the right shade
The first step when using a contour stick is to find the right shade. Choose a shade that is two to three shades darker than your skin tone. If you have fair skin, go for a cool-toned contour. For medium skin tones, choose a neutral shade. For darker skin tones, select a warm-toned contour. To find the right shade, swatch the product on your jawline and check it in natural daylight.
2. Choose the right tool
Using the right tool ensures that you get the most out of your contour stick. You can use a stippling brush, a beauty sponge, or your fingers to blend the product. Each tool offers a different finish; thus, it's essential to choose the one that suits you the best. A stippling brush gives you a natural look, while a beauty sponge gives you a flawless finish. Using your fingers is perfect for a quick and effortless application.
3. Apply foundation
Before using a contour stick, start by applying foundation to your face. This will create an even base and ensure that your contour blends seamlessly into your foundation. Choose your favourite foundation and apply it to your face, neck, and chest.
4. Draw the contour lines
It's time to contour! Apply the contour stick to the areas where you want to add depth and dimension. Typically, contour is applied to the areas where the sun naturally hits your face, such as the hollows of your cheekbones, temples, and jawline. To create a natural-looking contour, blend the product towards your hairline and under the chin. Draw a thin line under your cheekbones and jawline.
5. Blend, blend, blend
Blending is the most crucial step in contouring. If you don't blend the product properly, it can appear harsh, leaving you with a less than natural finish. Using your tool of choice, blend the contour stick in circular motions. Focus on blending the edges until you achieve a seamless finish. Keep blending until the product has blended into the foundation, creating a natural-looking shadow.
6. Highlight
After contouring, it's essential to highlight the high points of your face, such as the top of your cheekbones, brow bone, bridge of the nose, and cupid's bow. Highlighting adds a natural glow to your face, making your skin appear more youthful and radiant. To highlight, use a concealer or a highlighter in one or two shades lighter than your skin tone. Apply the product in a 'C' shape from the top of your cheekbones to the brow bone.
7. Set the look
Lastly, after all the contouring and highlighting, set your look with a translucent powder. Setting your makeup keeps your contour in place all day and prevents it from smudging. Lightly dust a translucent powder over your finished look using a powder brush. Use the brush to pat the powder in place gently.
Contouring with a stick is a quick and effortless way to achieve a natural-looking sculpted face. Start with a little product and build it up if needed. Remember, blending is the key to achieving a perfect finish. Practice and experiment with different shades and techniques to find what works for you. With some patience and repetition, you'll achieve a beautiful, well-sculpted face in no time. Happy contouring!
 Self-Instruct